
The United States remains one of the most popular destinations for Nepali students pursuing higher education. With top-ranking universities, advanced research facilities, and global career prospects, it’s no surprise that thousands of students from Nepal apply to U.S. institutions each year. But to get there, you’ll need to go through the student visa process a step-by-step journey that requires preparation, documents, and a strong understanding of what the U.S. Embassy expects. This blog provides a detailed guide on how to apply for a U.S. student visa from Nepal.
Step 1: Get Admission to a SEVP-Certified U.S. University
The very first step in the student visa process is getting accepted by a U.S. university or college that is certified by the Student and Exchange Visitor Program (SEVP). This certification ensures that the institution is authorized to enroll international students.
First, research universities that match your academic goals, financial capabilities, and preferred location. Visit their official websites to understand admission criteria, application deadlines, scholarship opportunities, and tuition fees. Once you apply and receive an offer letter, the university will issue a document called Form I-20, which confirms your acceptance and contains key details about your program. This form is essential for your visa application.
Step 2: Pay the SEVIS Fee (Form I-901)
After receiving the I-20, the next step is to pay the SEVIS I-901 fee. This fee is mandatory for all F-1 visa applicants and helps the U.S. government maintain a database of international students.
The SEVIS fee can be paid online at fmjfee.com. You will need your SEVIS ID number (located on your I-20) and school code. The current cost is $350. Make sure to print the payment confirmation receipt, as you will need to show this during your visa interview.
Step 3: Complete the DS-160 Form Online
The DS-160 is the official U.S. visa application form that must be completed online before scheduling an interview. It collects all your personal and academic information and determines your eligibility for a non-immigrant visa.
You can access the DS-160 form at ceac.state.gov. Filling out the form takes time and attention to detail. You’ll also need to upload a passport-size photograph that meets the U.S. Embassy’s requirements. After submission, you’ll receive a DS-160 confirmation page with a barcode print this, as it is required for your visa appointment.
Step 4: Pay the U.S. Visa Application Fee
Once you’ve completed the DS-160 form, the next step is to pay the visa application fee. For F-1 student visas, the current fee is $185.
In Nepal, this fee is payable through Nabil Bank. You can either visit a branch in person or pay through the bank’s online system, as authorized by the U.S. Embassy. Be sure to keep the payment receipt safe the receipt number is needed to schedule your visa interview.
Step 5: Schedule the Visa Interview
Now you are ready to schedule your student visa interview at the U.S. Embassy in Kathmandu. This is a crucial part of the application process where your intent to study and return after completing your program will be evaluated.
To book your appointment, visit ustraveldocs.com/np. Create a profile, log in, and follow the steps to schedule your interview. You’ll be required to enter details such as your passport number, DS-160 confirmation number, and visa fee receipt number. You may also need to answer some preliminary questions regarding your travel history and previous U.S. visa applications, if any.
Step 6: Prepare the Required Documents
Once your interview is scheduled, start gathering the required documents. Organizing them properly will help you feel confident and avoid delays during your appointment.
Here are the key documents you’ll need:
- Valid passport (with at least six months of validity beyond your intended stay)
- DS-160 confirmation page with barcode
- Form I-20 issued by your university
- SEVIS fee payment receipt (I-901 confirmation)
- Visa application fee payment receipt
- Visa interview appointment confirmation letter
In addition to these, you should carry academic documents such as transcripts, standardized test scores (TOEFL, IELTS, SAT, GRE), financial statements showing your ability to pay tuition and living expenses, and evidence of strong ties to Nepal like property papers or family details to prove you intend to return after your studies.
Step 7: Attend the Visa Interview at the U.S. Embassy
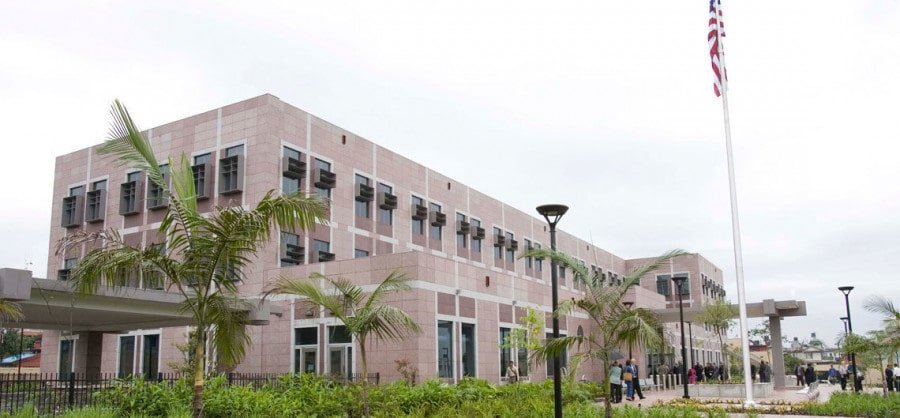
On the day of your interview, arrive early at the U.S. Embassy located in Maharajgunj, Kathmandu. Dress appropriately and bring all required documents in a neat and organized folder.
During the interview, a consular officer will ask questions about your university choice, your financial situation, your academic goals, and your plans after graduation. Speak clearly and answer truthfully. Most interviews are brief, so make a strong first impression. Remember, the purpose of the interview is to confirm that you are a genuine student and that you will return to Nepal after completing your studies.
Step 8: Visa Decision and Passport Collection
After the interview, the consular officer will either approve or deny your visa application. If approved, your passport will be kept for visa stamping and returned to you within a few business days via your selected delivery method. You’ll be notified by email or SMS when your passport is ready for pickup.
In case your visa is denied, don’t be discouraged. The officer will provide a reason, and you may reapply after addressing the issues whether financial, academic, or documentation-related.
Summary
Applying for a student visa to the United States from Nepal may seem overwhelming at first, but by following each step carefully, it becomes manageable. From university admission to visa interview, every part of the process requires attention, planning, and confidence. Thousands of Nepali students successfully receive their U.S. student visas each year and with the right approach, you can too.
Make use of reliable resources such as Education USA Nepal, consult academic advisors, and stay updated through official embassy websites. With dedication and preparation, your dream of studying in the U.S. can become a reality.
If you’re looking for extra guidance, Flight Tracker Nepal is here to support you. As a trusted travel and visa service provider, they offer professional assistance with documentation, interview preparation, visa application support, and even flight bookings making your journey smoother from day one.
Suggested Blogs
Госзакупки+и+тендеры
The U.S. remains a top choice for Nepali students, and this guide simplifies the visa process. It’s great to see a step-by-step breakdown, especially for first-timers. I wonder, though, how many students face challenges with the financial documentation part? The emphasis on the interview is crucial, but do you think the process could be more transparent or supportive for applicants? Also, is there any flexibility for those who might struggle with the SEVIS fee payment? Overall, this is a helpful resource, but I’d love to hear from someone who’s gone through the process—what was your experience like?